Organizing Work Areas
 Workbenches, craft corners, sewing rooms, scrapbook areas, and the like, are all potential hotbeds of mess. These locations are filled with tools and supplies that get used and reused often. They are also locations that house potential, ongoing, and almost finished projects. So, organizing them, and keeping them organized can be challenging.
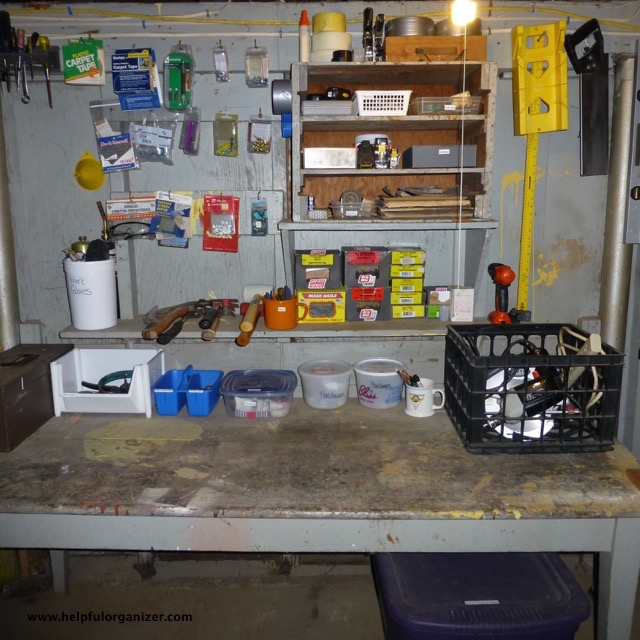
I’ve been itching to help my husband organize his workbench for years. I understand that it’s his domain, (just like my scrapbooking area is my domain) and that’s why I didn’t take over and just do it myself. We tackled the project together. It took us 3.5 hours to work through the organizing process, but when we were finished his tools and supplies were organized, he had a list of all his works-in-progress, and he had plenty of space to actually work on his workbench.
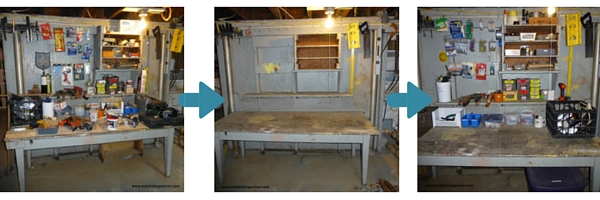
We both were pleased with the results and considered the project a success. Here are some helpful tips that can assist you in successfully organizing your work area (whatever area that may be):
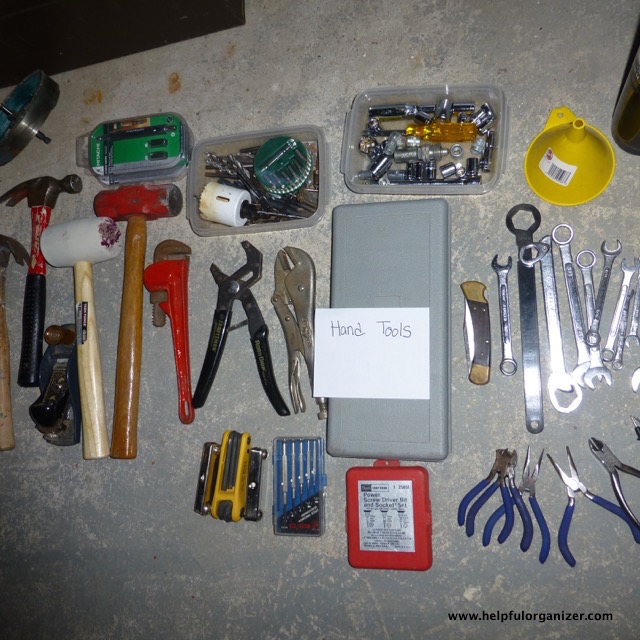
- When sorting tools and supplies into categories use general terms and label each category. We had 13 different categories; power tools, hand tools, tape & glue, hardware, clamps, painting, plumbing, sanding, measuring, trash, recycle, give away, and belongs elsewhere.
- While working, keep a running list of tasks that you have to address. This helps prevent you from getting sidetracked and wanting to addressing these tasks right away. A few tasks on our list are to ask our brother-on-law if he wants the propane torches we never use, and to research how to refill or recycle a fire extinguisher.
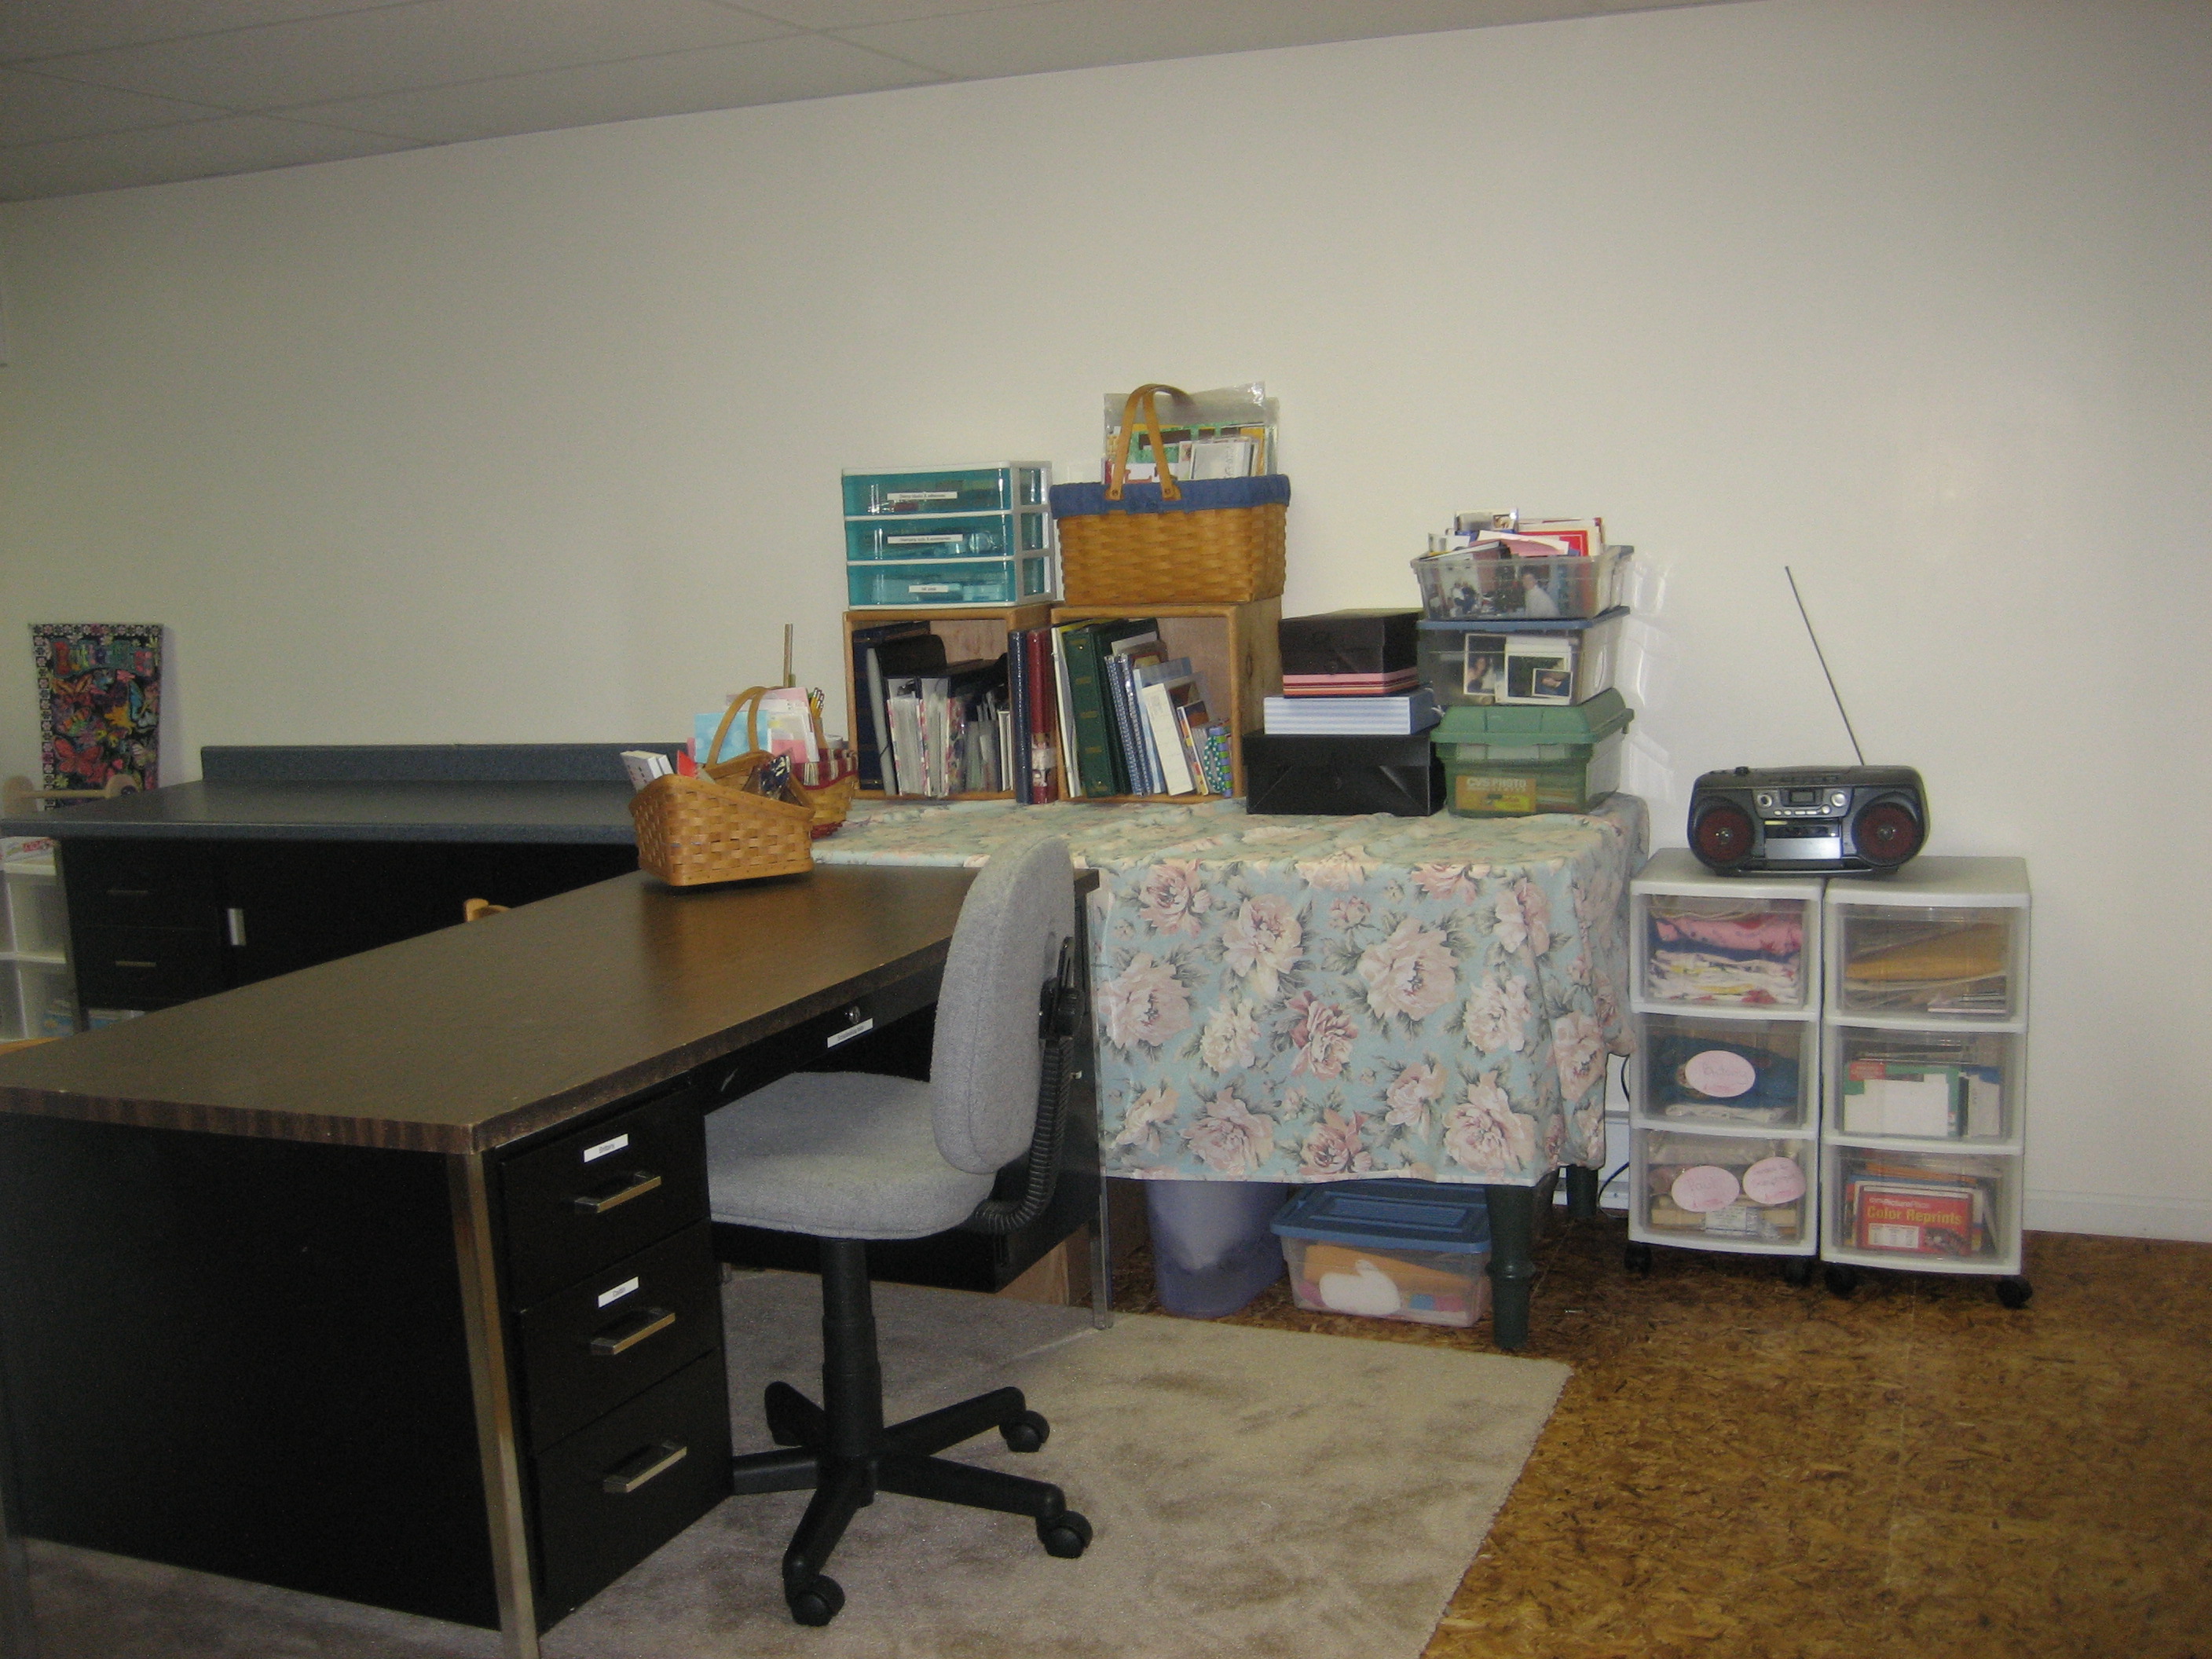
- When setting up your work area leave plenty of room to actually work on projects, and have an designated area to store works-in-progress.
- Clearly label the containers that store your tools and supplies. Although my husband knows what all his tools are, I do not. So now, when he asks me for a socket wrench, I’ll know at least where to look.
- Use containers that are easy to reach into, sturdy, and are a good size for the items they will be containing. These tools and supplies get used and reused often. So, make it easy to get at them and put them away.
- Give yourself a break. A good time to take a break is after the sorting step. We took a lunch break after we had cleared the workbench.
- At the end of the organizing project give yourself time to address the trash, recycle, give away, and belongs elsewhere pile. It may take additional time to address these categories. For example we have a box of electronic recycle items that we will bring to the Indie Cycle drop off point in three weeks.
- When you reach the finish line, reward your success.


©September 2015 Janine Cavanaugh, Certified Professional Organizer® All rights reserved.

Proud member of NAPO

Follow Me