Tag Archive for: organizing stuff

3D Character and question mark

How to Decide When It’s Time to Organize

Helpful Organizer BlogHow often do we organize? Do we let the mess and clutter build and build before you reclaim order? How do we decide when it’s time to organize? The answers to these questions vary for each individual, based on tolerance and desire.

Every individual has their own personal level of tolerance for disorder, meaning how much mess they are willing to live with before they clean it up. If we have a low tolerance for disorder, we don’t allow mess to happen or spread. However, if we have high tolerance for disorder, we find that clutter grows and spreads before we realize it’s out of control.

Additional, every individual has their own personal desired level of order, meaning how much clutter they can live with before they take action and remove it. If we desire a high level of order, we have systems in place that prevent clutter from happening. However, if our desire for order is low, we allow the mess to get out of control.

The best solution is to determine when it’s time to organize, and then take action before the mess and clutter get out of control. Here are 3 basic guidelines we can use to determine when it’s time to take action and organize.

  • Time Guideline
  • Quantity Guideline
  • Visual Assessment Guideline

A Time Guideline is when we use a specific time or day as the cue to take action and organize. Here are a few examples. Every night before eating dinner, we put away what’s collected on the kitchen/dinning room table. Every night at 8:00PM, we organize and prepare for the next day. The last Saturday of every month, we take care of recycle items and donate items. Every September, we clean out the garage.

A Quantity Guideline is when we use a specific unit of measure to determine when it’s time to take action and organize. Here are a few examples. When our inbox is an inch deep, we process all the mail. When the shred box is full, we empty it by shredding it’s contents. When the magazine rack is full, we remove and recycle 5 magazines. When we have two weeks worth of old newspapers, we recycle them.

A Visual Assessment Guideline is when you use a specific visual cue to determine when it’s time to take action and organize. Here are a few examples. When we can’t see the desk, we organize the desk. When the floor of the walk-in closet is hidden, we organize the closet. When there are too many items on the kitchen counter, we clear it off and put things away.

Based on our personal tolerance and desire we’ll be drawn to a specific type of guideline.  The key is to find guidelines that work and stick with them, because trouble occurs when we don’t establish any guidelines, we ignore our guidelines, or we’re unable to maintain our guidelines.

So, the best way to decide when it’s time to organize is to first look at our tolerance for disorder and our personal desired level of order. Second, establish organizing guidelines. Third, follow the guidelines that have been established. Remember, the best guideline is the one we will DO.


© February 2016  Janine Cavanaugh, Certified Professional Organizer®  All Rights Reserved

timer

De-clutter in 5 Minutes

Organizing tipHave one empty container in each room of the house.  At the end of each day, go room by room, and put any clutter that has accumulated into the empty container.  At the end of each week, remove the contents of each container by putting items where they belong and tossing what you don’t need.
towels

Organize with Color

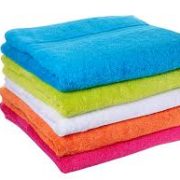
towelsUse color to help maintain order by  having a color distinguish an individuals belongings.  Have each person in the household pick a color she would like for her sheets, towels, lunch bag, hats, gloves, book bag, etc.  This way each individual can easily see what belongs to her, and then be held accountable for keeping those things in order.
workbench

Organizing Work Areas

HardwareWorkbenches, craft corners, sewing rooms, scrapbook areas, and the like, are all potential hotbeds of mess.  These locations are filled with tools and supplies that get used and reused often.  They are also locations that house potential, ongoing, and almost finished projects.  So, organizing them, and keeping them organized can be challenging.

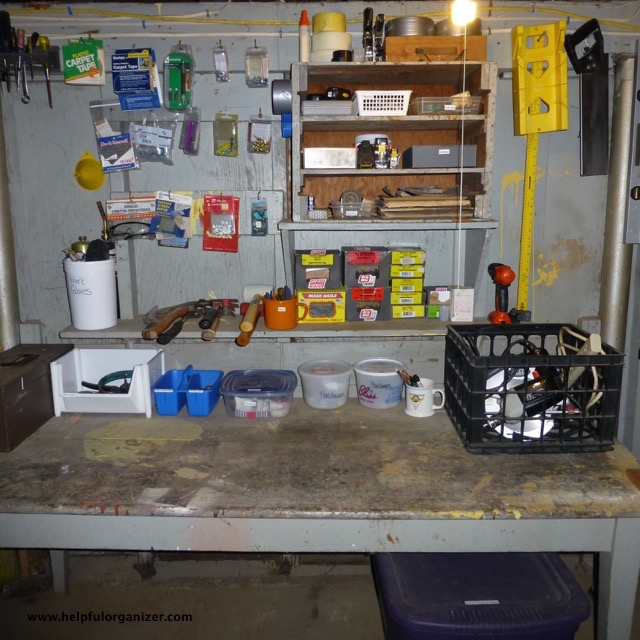
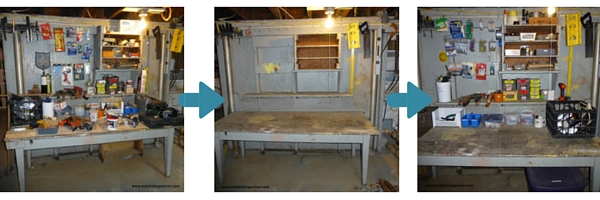
I’ve been itching to help my husband organize his workbench for years.  I understand that it’s his domain, (just like my scrapbooking area is my domain) and that’s why I didn’t take over and just do it myself.  We tackled the project together.  It took us 3.5 hours to work through the organizing process, but when we were finished his tools and supplies were organized, he had a list of all his works-in-progress, and he had plenty of space to actually work on his workbench.

Workbench

We both were pleased with the results and considered the project a success.  Here are some helpful tips that can assist you in successfully organizing your work area (whatever area that may be):

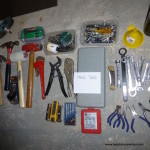
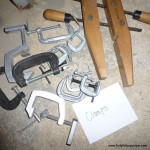
  1.  When sorting tools and supplies into categories use general terms and label each category.  We had 13 different categories; power tools, hand tools, tape & glue, hardware, clamps, painting, plumbing, sanding, measuring, trash, recycle, give away, and belongs elsewhere.
  2.  While working, keep a running list of tasks that you have to address.  This helps prevent you from getting sidetracked and wanting to addressing these tasks right away.  A few tasks on our list are to ask our brother-on-law if he wants the propane torches we never use, and to research how to refill or recycle a fire extinguisher.
  3.  When setting up your work area leave plenty of room to actually work on projects, and have an designated area to store works-in-progress.
  4.  Clearly label the containers that store your tools and supplies.  Although my husband knows what all his tools are, I do not.  So now, when he asks me for a socket wrench, I’ll know at least where to look.
  5.  Use containers that are easy to reach into, sturdy, and are a good size for the items they will be containing.  These tools and supplies get used and reused often.  So, make it easy to get at them and put them away.
  6.  Give yourself a break.  A good time to take a break is after the sorting step.  We took a lunch break after we had cleared the workbench.
  7.  At the end of the organizing project give yourself time to address the trash, recycle, give away, and belongs elsewhere pile.  It may take additional time to address these categories.  For example we have a box of electronic recycle items that we will bring to the Indie Cycle drop off point in three weeks.
  8.  When you reach the finish line, reward your success.

sortingHardwareHandtoolsClamps

©September 2015  Janine Cavanaugh, Certified Professional Organizer®  All rights reserved.

NAPO

Proud member of NAPO

organized utensils

3 Step Organizing Process

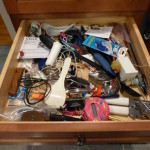
junk drawerWhat happens when you open a junk drawer? Do you ignore the mess and slam it shut as soon as you locate what you were hoping to find inside? When I open a junk drawer my fingers start itching to dive in and organize. I fully understand that this is my own personal reaction, and is not one that is commonly shared, but I’d like to alter your reaction to a junk drawer. I hope to accomplish this by providing you with the knowledge on how to successfully organize a junk drawer, and other disorderly spots. Supplying you with the tools needed to master the organizing process will give you a means to act instead of react.

The organizing process is a means to create order from disorder by following 3 steps.
3 steps to organizing process


sort junk drawer


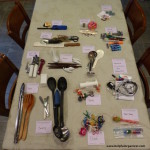
The first step of the organizing process is sorting and categorizing. The idea is to separate all the items in the junk drawer into categories that are similar in function and/or purpose. One helpful tip is to label each category and don’t allow yourself to leave the project. For example, it may be tempting to put the medication that you find in the junk drawer in the medicine cabinet, but once you remove yourself from the organizing process, it’s easy to get distracted. Instead create a category labeled “Belongs Elsewhere”, put the medication in that category, and continue sorting all the items in the junk drawer.


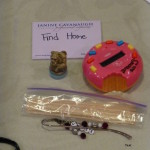
The second step of the organizing process is removing the detritus from each category. It’s noticing items that are better kept some place else (i.e. find home category), items that have an existing home some place else (i.e. belongs elsewhere category), and items that are no longer wanted, needed, or used (i.e. give away, recycle, and toss categories).

find homebelongs elsewheregive away


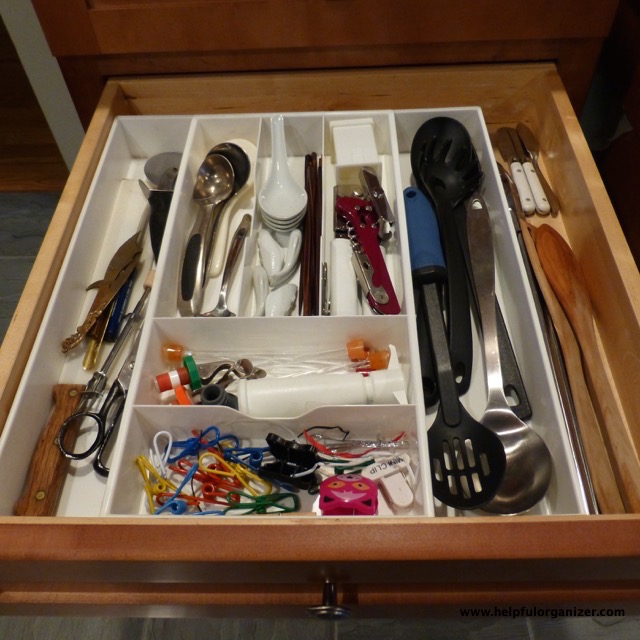
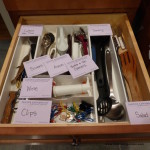
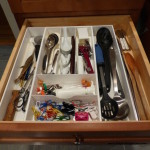
The third step of the organizing process is placement of what is going back into the junk drawer. The idea is to focus on function and pay close attention to how convenient it is to find what you need when you need it, and how convenient it is to put items away. A helpful tip is to have a specific home for each category you’ve created, and if a category has too many items, subdivide the category. Use organizing tools and products to facilitate easy access and function. I’ve used a drawer organizer to help organize the junk drawer.

drawer containerorganized drawerThis organizing process can be used to create order from disorder in any space.

By following the 3 steps you can organize all your spaces, places, and stuff.


© July 2015  Janine Cavanaugh, Certified Professional Organizer®  All Rights Reserved