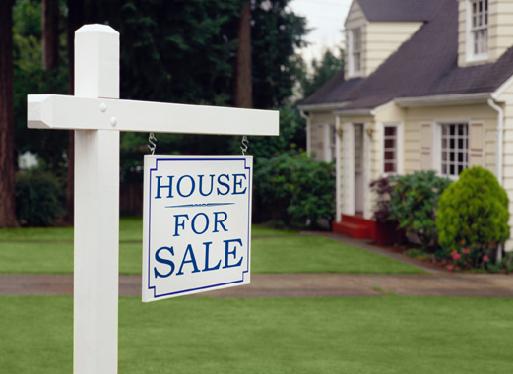
 Summer is an optimal time for many homeowners to sell their house, pack up, and relocate. Unfortunately, this is a stressful process. It’s easy for sellers to get overwhelmed by all that needs to be done to prepare their house for the market, and start the packing process. There is so much to organize, so many details to address. The 10 “Organized to Sell” tips listed below will help any seller focus on the details and take control.
1. Eliminate piles before you sell.
Don’t let paper and items accumulate on tables, counter tops, or desks. Keeping horizontal surfaces clear and clean eliminates visual clutter, and allows potential buyers to see the space without distractions.
2. Reduce before you sell.
Over stuffing closets, bookcases, filing cabinets, cupboards and other storage areas in your home is a red flag to potential buyers. It screams, “Not enough storage!” Reducing and limiting the number of items you keep in these areas conveys the message of ample and abundant storage to the potential buyer.
3. Eliminate surplus before you sell.
Why have ten of something, if two is all you really need until you move? Pack up and remove surplus or
duplicate items. A few examples are sheets, towels, dishes, mugs, utensils, toiletries, toys, books, DVDs, etc.
4. Remove before you sell.
Packing up seldom used items and seasonal items helps your house appear spacious, and that is what potential buyers like. Some examples are holiday decorations, off season clothing and footwear, archived files, and rarely used kitchen appliances, like bread makers, blenders, etc.
5. Toss before you sell.
It is perfectly acceptable to throw away things that are broken, damaged, rusty, worn out, torn, stained, or incomplete. Toss these items without hesitation. If your belongings look old and worn out the potential buyer sees the whole property as old and worn out.
6. Donate before you sell.
If you’re not using it now, you won’t use it in your new home. Ask yourself, “Will I be wasting my time, money
and energy if I pack and move this item?” Donating items is a great way to help preserve the environment, help those that are less fortunate, and feel content knowing that someone will value what you no longer use.
7. Sell before you sell.
Selling items that you no longer want, need or have space for in your new home, is a viable option. A few venues are yard sales, consignment shops, auction houses, newspaper listings, estate sales, or internet listings. Remember to be realistic about your financial expectations when selling used items.
8. Rent before you sell.
Renting a storage unit to hold equipment you seldom use and boxes of packed items will help free up space and give you a jump start on the moving process. Remember space is a valuable commodity.
9. Spruce up before you sell.
Don’t forget to reduce the clutter in your yard and outdoor living spaces. These areas are usually the first and
last impression for the potential buyers. So, make them as clutter-free as possible by removing toys, lawn ornaments, recycle bins, etc.
10. Hide before you sell.
Store as many items of daily use in your cupboards and cabinets. For example, put your tooth brushes in the medicine cabinet, your dish detergent in the cupboard under the sink, and your vacuum cleaner in the utility closet. This is more visually appealing and is less distracting for potential buyers.
©July 2015 Janine Cavanaugh, Certified Professional Organizer®. All Rights Reserved

Proud member of NAPO
 Have one empty container in each room of the house. At the end of each day, go room by room, and put any clutter that has accumulated into the empty container. At the end of each week, remove the contents of each container by putting items where they belong and tossing what you don’t need.
 Once a year host a party or event. This is great incentive to organize and de-clutter. In fact, having guests over is the number one motivator for getting organized.


Follow Me