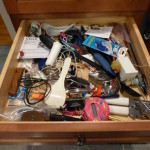
 What happens when you open a junk drawer? Do you ignore the mess and slam it shut as soon as you locate what you were hoping to find inside? When I open a junk drawer my fingers start itching to dive in and organize. I fully understand that this is my own personal reaction, and is not one that is commonly shared, but I’d like to alter your reaction to a junk drawer. I hope to accomplish this by providing you with the knowledge on how to successfully organize a junk drawer, and other disorderly spots. Supplying you with the tools needed to master the organizing process will give you a means to act instead of react.
The organizing process is a means to create order from disorder by following 3 steps.


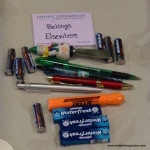
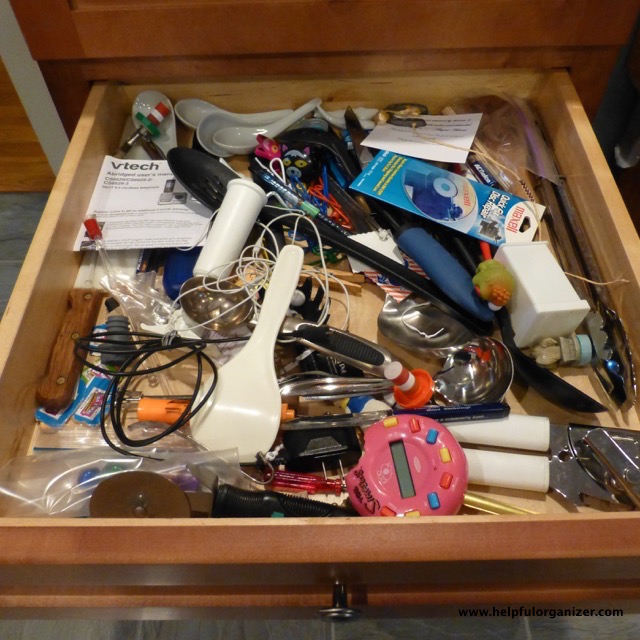
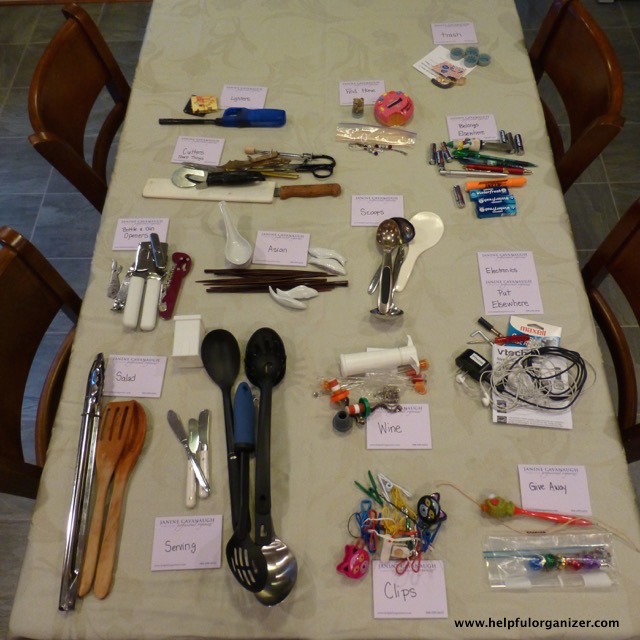
The first step of the organizing process is sorting and categorizing. The idea is to separate all the items in the junk drawer into categories that are similar in function and/or purpose. One helpful tip is to label each category and don’t allow yourself to leave the project. For example, it may be tempting to put the medication that you find in the junk drawer in the medicine cabinet, but once you remove yourself from the organizing process, it’s easy to get distracted. Instead create a category labeled “Belongs Elsewhere”, put the medication in that category, and continue sorting all the items in the junk drawer.
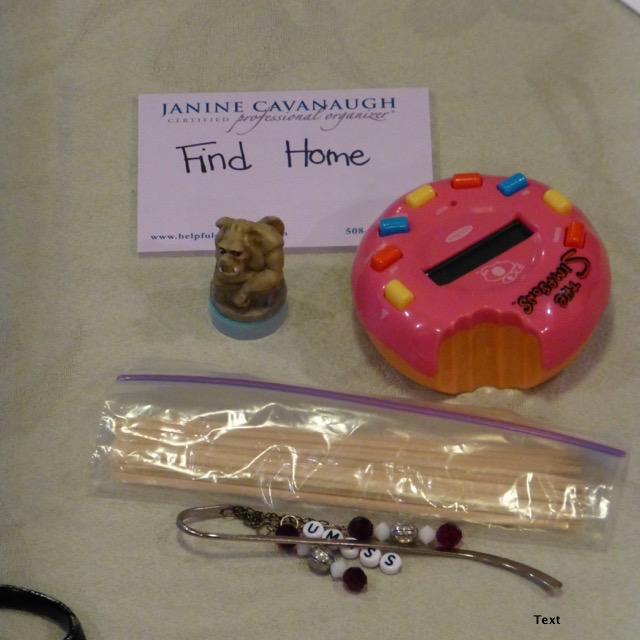
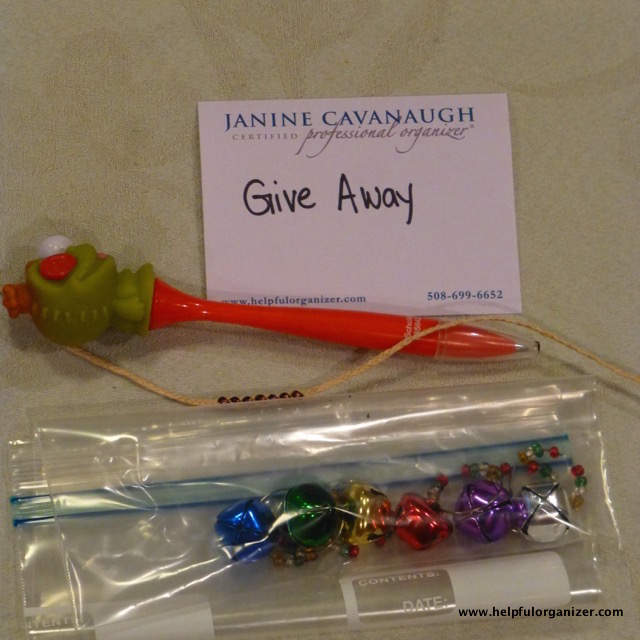
The second step of the organizing process is removing the detritus from each category. It’s noticing items that are better kept some place else (i.e. find home category), items that have an existing home some place else (i.e. belongs elsewhere category), and items that are no longer wanted, needed, or used (i.e. give away, recycle, and toss categories).


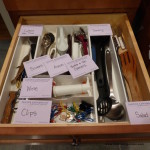
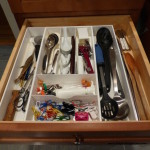
The third step of the organizing process is placement of what is going back into the junk drawer. The idea is to focus on function and pay close attention to how convenient it is to find what you need when you need it, and how convenient it is to put items away. A helpful tip is to have a specific home for each category you’ve created, and if a category has too many items, subdivide the category. Use organizing tools and products to facilitate easy access and function. I’ve used a drawer organizer to help organize the junk drawer.
 This organizing process can be used to create order from disorder in any space.
By following the 3 steps you can organize all your spaces, places, and stuff.
© July 2015 Janine Cavanaugh, Certified Professional Organizer® All Rights Reserved

 Did you know that the amount of items you have on your refrigerator can be an indicator of how much clutter you have? So, if your refrigerator is loaded with items, remove 50% of them, and keep them off for at least 3 months. This may motivate you to reduce clutter in other areas in your home as well.
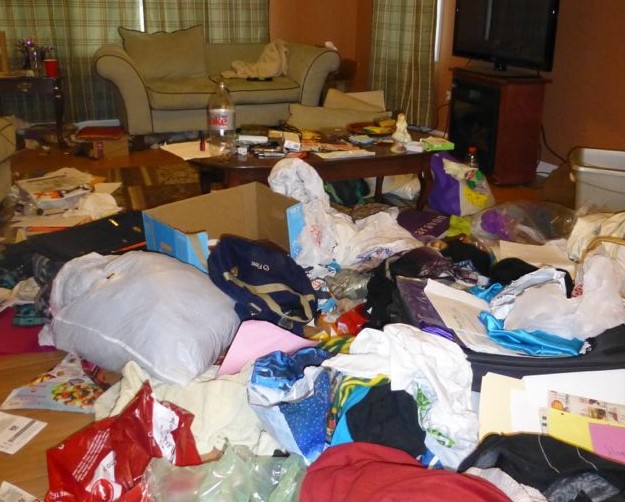


 Once a year host a party or event. This is great incentive to organize and de-clutter. In fact, having guests over is the number one motivator for getting organized.
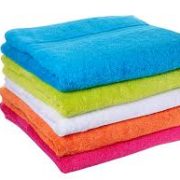
 Use color to help maintain order by having a color distinguish an individuals belongings. Have each person in the household pick a color she would like for her sheets, towels, lunch bag, hats, gloves, book bag, etc. This way each individual can easily see what belongs to her, and then be held accountable for keeping those things in order.


Follow Me